A bread slicer is a must-have gadget for homemade bread enthusiasts, offering convenience and uniformity. It solves the challenge of achieving even slices, perfect for various bread types, and ensures effortless cutting every time.
Why Homemade Bread Slicing is Important

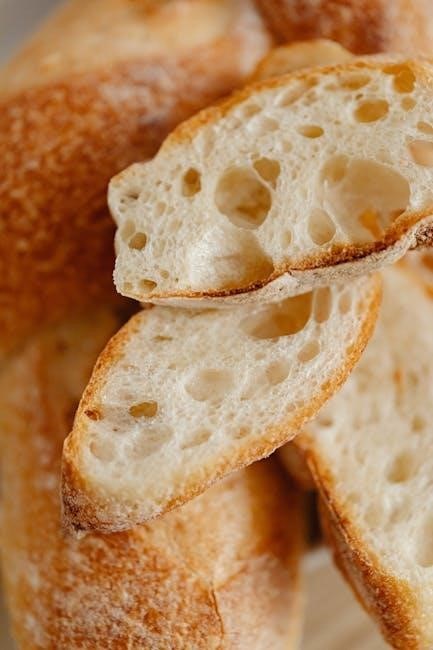
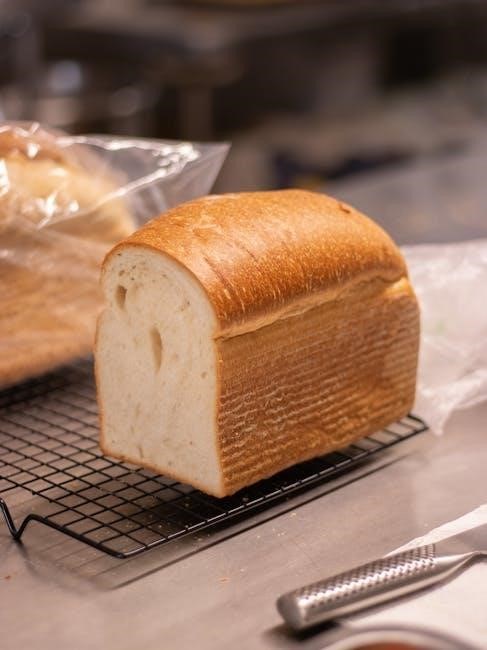
Slicing homemade bread evenly is crucial for achieving perfect texture and presentation. Uneven slices can lead to inconsistent toasting, uneven sandwich filling, and a less appealing appearance. A bread slicer ensures uniformity, making every slice ideal for sandwiches, toast, or serving. Homemade bread, often denser than store-bought, requires precise cutting to maintain its structure and flavor. Without proper slicing tools, the bread may crumble or tear, diminishing the effort put into baking. Even slices also enhance the overall eating experience, allowing the natural aroma and taste of homemade bread to shine. Additionally, a slicer helps preserve the bread’s freshness by preventing excessive crumbling, which can lead to waste. Investing in a reliable bread slicer is a practical step for anyone who values the quality and presentation of their homemade creations, ensuring every loaf is enjoyed to its fullest potential.

Overview of Popular Bread Slicer Types
When it comes to choosing a bread slicer, there are several popular types designed to meet different needs and preferences. Manual bread slicers are a favorite among homemade bread enthusiasts, offering affordability and simplicity. These typically feature a folding design with adjustable thickness settings, making them ideal for home use. Electric bread slicers provide convenience and speed, especially for those who bake frequently or in large quantities. They often come with automatic features and are great for commercial or heavy-duty use. For eco-conscious bakers, bamboo bread slicers are a sustainable option, offering durability and a natural aesthetic. Additionally, adjustable toast slicers with crumb trays are versatile, accommodating various bread sizes and types. Each type caters to specific requirements, ensuring there’s a slicer for every baker’s needs, whether it’s precision, portability, or environmental friendliness.

Choosing the Right Bread Slicer
Selecting the ideal bread slicer involves considering size, material, and ease of cleaning. For homemade bread, opt for durable, adjustable models that ensure even slices and minimal crumb mess.
Manual vs. Electric Bread Slicers: Pros and Cons
When choosing a bread slicer, deciding between manual and electric models is crucial. Manual slicers are popular for homemade bread due to their simplicity and portability. They are often more affordable, easy to clean, and don’t require electricity, making them ideal for small batches. However, they may lack precision and require more physical effort. Electric slicers, on the other hand, offer speed and convenience, especially for larger loaves or frequent use. They often feature adjustable thickness settings and deliver consistent results. Yet, they are generally more expensive, take up kitchen space, and can be cumbersome to clean. For homemade bread enthusiasts, manual slicers are often sufficient, but electric models shine for those seeking efficiency and precision. Both options cater to different needs, making it essential to consider your baking habits and preferences before deciding.
Top-Rated Bread Slicers for Homemade Bread
Several bread slicers stand out for their exceptional performance with homemade bread. The Bambusi Bamboo Bread Slicer is a top choice, offering a foldable design and adjustable thickness settings for even slices. Its eco-friendly bamboo construction and anti-skid base make it both durable and stable. Another highly-rated option is the Silky Road Bamboo Bread Slicer, which features three thickness options and a compact, space-saving design. For those seeking a premium option, the Kitchen Seven Bamboo Bread Slicer is praised for its water-resistant properties and stylish appearance. Additionally, the Jumeihui Bread Slicer is a versatile choice with an adjustable width guide and a crumb tray for mess-free slicing. These slicers are designed to cater to various preferences, ensuring perfect slices for sandwiches, toast, or serving. Whether you prioritize affordability, durability, or advanced features, these top-rated slicers provide the convenience and precision needed for homemade bread enthusiasts.

Mastering the Art of Slicing Homemade Bread
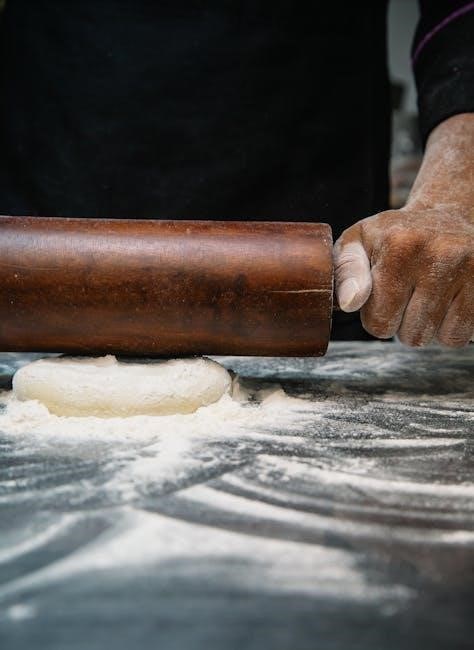
Mastering the art of slicing homemade bread requires a serrated knife, a gentle sawing motion, and a steady hand. Letting the bread cool ensures cleaner cuts and prevents compression for perfect slices every time.
Essential Tools: The Best Knives for Slicing Bread
When it comes to slicing homemade bread, the right knife is crucial. A long, serrated bread knife is the top choice, as its teeth gently saw through the loaf without tearing or compressing it. Opt for a high-quality knife, such as those from trusted brands like Dexter Russell or Wüsthof, known for their sharpness and durability. A serrated edge ensures clean cuts, while the knife’s length allows for smooth, even strokes. For the best results, use a gentle sawing motion rather than applying heavy pressure, which can crush the bread. A sharp knife is key to achieving perfectly uniform slices, making it an indispensable tool for any bread enthusiast. Pairing a serrated knife with a bread slicer guide enhances precision, ensuring every slice is consistent and perfect for sandwiches, toast, or serving fresh.
Tips for Achieving Perfectly Even Slices
Achieving perfectly even slices of homemade bread requires a combination of the right tools and techniques. Start by using a serrated bread knife, as it glides smoothly through the loaf without tearing. Always slice on a stable surface, such as a cutting board, to maintain control. Allow the bread to cool slightly before slicing, as warm bread can be more challenging to cut evenly. For the best results, use a gentle sawing motion rather than applying heavy pressure, which can compress the bread. Pairing your knife with a bread slicer guide ensures consistent thickness and alignment. Position the loaf securely and slice in one continuous motion for uniform results. Finally, store your slices in an airtight container to preserve freshness and texture. With practice and the right approach, you’ll master the art of slicing homemade bread like a pro!
DIY Bread Slicer Guide
Create a simple homemade bread slicer using wood or plastic. Design includes adjustable guides for even slices and a crumb tray for mess-free cutting. Easy to build and use!
How to Create Your Own Homemade Bread Slicer

Creating a homemade bread slicer is a fun and practical DIY project. Start by gathering materials like wood or plastic for the base and sides, and metal or plastic guides for slicing consistency. Design the slicer with adjustable thickness settings to accommodate different bread sizes and preferences. Assemble the parts, ensuring the guides are securely attached to maintain even spacing. Sand the surfaces for smoothness and add a non-slip base for stability. For added functionality, include a crumb tray to catch crumbs during slicing. This DIY solution offers a cost-effective and eco-friendly alternative to store-bought slicers, tailored to your specific needs. With basic tools and creativity, you can craft a durable, easy-to-use bread slicer that enhances your homemade bread experience.
Step-by-Step Instructions for a Simple Bread Slicing Guide
Creating a simple bread slicing guide is an easy DIY project that ensures even slices. Start by gathering materials: two hardwood planks, screws, and a measuring tape. Cut the planks to the same size, one slightly taller for the back. Assemble the planks into a rectangular frame, forming a slot for the knife. Attach adjustable guides along the slot to control slice thickness. Sand the surface for smoothness and add a non-slip base for stability. Place the bread inside the guide, align the knife with the desired thickness mark, and gently slice in a sawing motion. This homemade slicer works for various bread types, including homemade loaves and baguettes, ensuring uniform slices every time. Store the guide in a dry place to maintain durability. With this simple guide, you can achieve professional-quality bread slicing at home.